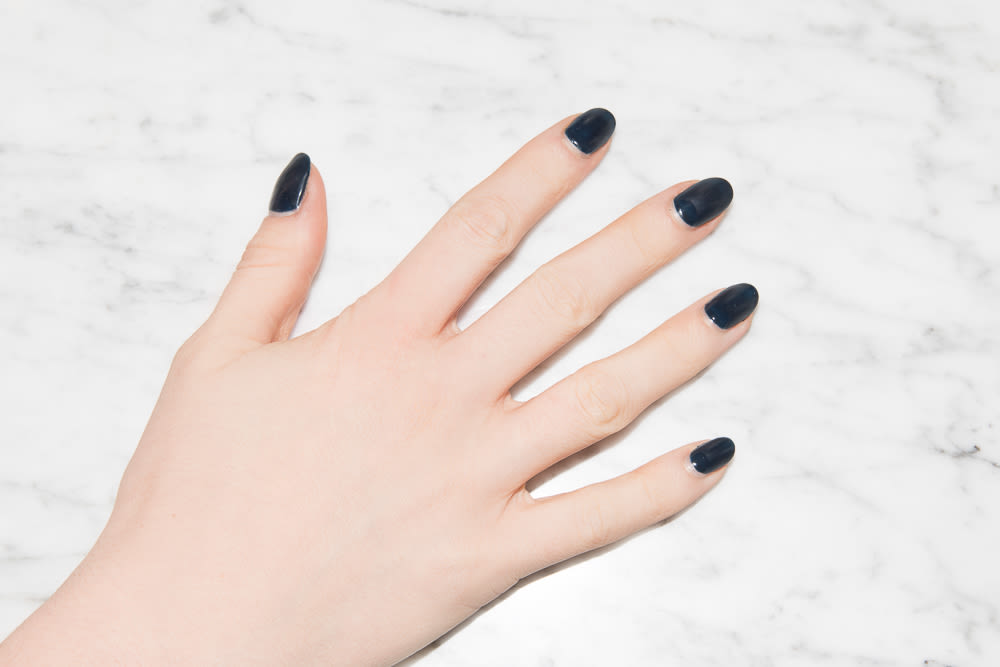
# How to Remove Gel Nail Polish at Home Safely: A Dermatologist-Approved Approach
Gel manicures are loved for their shine, durability, and long wear-but when it comes time to remove them, many people feel anxious. Scraping, peeling, or over-filing gel polish can seriously weaken the nail plate. At TTT Nails, a professional [nails supply](https://tttnails.com/) brand, we believe nail health should always come first. That’s why understanding [how to remove gel nail polish](https://tttnails.com/blogs/news/how-to-remove-gel-nail-polish) correctly is just as important as applying it.
According to board-certified dermatologist Shari Lipner, acetone remains the most effective and least damaging way to remove gel polish at home-when used properly. Surprisingly, she also recommends skipping aluminum foil altogether and using plastic food wrap instead for better results.
## Why Improper Gel Removal Damages Nails
Gel nail polish bonds firmly to the nail surface and is cured under UV or LED light. This strong bond is what gives gel its long-lasting wear-but it also makes removal more challenging than traditional polish.
Many people resort to picking, scraping, or aggressively filing the gel off. While this may seem faster, it can strip away layers of the natural nail, leading to white spots, thinning, and long-term brittleness. Using wooden or orange sticks improperly can also traumatize the nail surface.
From a nails supply professional perspective, acetone-used with care-is far safer than mechanical force.
## What You’ll Need Before You Start
One of the advantages of this dermatologist-backed method is that it uses simple household items, many of which are already part of a basic nail care or nails supply kit.
Prepare the following:
* Petroleum jelly
* Cotton balls or cotton strips
* Scissors
* Acetone (100%)
* Plastic food wrap
* Washcloth
* Towel
## Protect Your Workspace
Acetone can damage sinks, countertops, wood finishes, and furniture. Before you begin, cover your work surface with plastic wrap, then place a thick towel on top. This extra step prevents spills from causing permanent damage.
## Step-by-Step: How to Remove Gel Nail Polish at Home
For best results, work on one hand at a time. This gives you better control and reduces the chance of acetone drying out before it can work effectively.
### Step 1: Protect the Skin
Apply a thin layer of petroleum jelly around each cuticle and the surrounding skin. This creates a protective barrier and minimizes irritation caused by acetone exposure.
### Step 2: Size the Cotton Correctly
Cut cotton balls or strips to match the size of each nail. Smaller cotton pieces reduce the risk of acetone touching your skin.
As a general guideline:
Pinkie fingers (5th finger) and little toes need about ¼ of a cotton ball
All other nails require about ½ of a cotton ball
### Step 3: Soak the Cotton
Fully saturate each cotton piece with acetone. Proper saturation is key-acetone evaporates quickly, and dry cotton will not soften the gel effectively.
### Step 4: Apply and Wrap
Place the soaked cotton directly on the nail plate. Wrap each finger securely with plastic food wrap, creating a snug seal without cutting off circulation.
**Why Plastic Wrap Works Better Than Foil**
Unlike foil, plastic wrap clings tightly to the finger, reducing leaks and evaporation. This allows the acetone to stay in contact with the gel longer, improving removal efficiency—a technique often recommended by dermatology experts and nail professionals alike.
### Step 5: Wait 10 Minutes
Leave the plastic wrap on for 10 minutes. During this time, the acetone penetrates the gel layers and breaks down the polymer bond.
### Step 6: Gently Remove Residue
After removing the wrap, most or all of the gel polish should lift easily. For any remaining bits, dampen a washcloth with warm water and gently rub the nail surface. Avoid scrubbing the surrounding skin.
### Step 7: Clean and Soothe
Wash your hands or feet with mild soap and water to remove acetone residue. Fragrance-free soap is ideal, but any gentle cleanser will work.
(*)See more of our product collections:
* [Acrylic Brush](https://tttnails.com/collections/acrylic-brush)
* [Acrylic Powder](https://tttnails.com/collections/acrylic-powder)
* [Base Top Gel & Regular](https://tttnails.com/collections/base-top-gel-regular)
* [Builder Gel](https://tttnails.com/collections/builder-gel)
* [Chisel](https://tttnails.com/collections/chisel)
* [CND](https://tttnails.com/collections/cnd)
## Post-Removal Nail Care Is Essential
Acetone, while effective, can leave nails and skin feeling dry. To restore balance:
* Massage petroleum jelly into the cuticles and surrounding skin
* Repeat daily for seven days
* Add cuticle oil or a nail-strengthening treatment if available in your [nails supply](https://tinyurl.com/mrx8tuhw) collection
This aftercare step helps reduce irritation and supports healthy nail regrowth.
## A Slower but Safest Alternative: Letting Gel Grow Out
If you prefer to avoid acetone entirely, allowing gel polish to grow out is the safest option. Trim your nails once a week to gradually remove the gel while preventing snags on clothing.
However, patience is essential. According to dermatological guidance
* Fingernails take about six months to grow out fully
* Toenails may take 12 to 18 months
If you choose this method, resist the temptation to pick or scrape the polish-doing so can cause more damage than acetone removal.
## Final Thoughts from TTT Nails
Knowing how to remove gel nail polish properly protects your nails from unnecessary trauma. Whether you’re a professional technician or a home user stocking up on nails supply essentials, technique matters just as much as tools.
At TTT Nails, we believe that beautiful manicures should never come at the expense of nail health. With the right method, the right products, and a little patience, you can safely remove gel polish at home and keep your nails strong, smooth, and ready for the next flawless set.